
how to build a wood wedding backdrop?

To build a wood wedding backdrop, you will need to gather the necessary materials such as wooden planks, screws, a saw, a drill, and sandpaper. Start by measuring and cutting the wooden planks to the desired size for the backdrop. Next, sand the edges and surfaces of the planks to ensure a smooth finish. Then, arrange the planks in the desired pattern or design and use screws to secure them together. Make sure to reinforce the structure by adding additional support beams if needed. Finally, you can paint or stain the wood to match your wedding theme or leave it natural for a rustic look.
1、 Selecting the right type of wood for your wedding backdrop
Selecting the right type of wood for your wedding backdrop is crucial in creating a beautiful and sturdy structure that will enhance the overall aesthetic of your special day. When choosing the wood, there are a few factors to consider.
Firstly, you need to decide whether you want a natural or a painted finish. If you prefer a natural look, hardwoods like oak or maple are excellent choices. They have a rich, warm tone and a smooth texture that can add elegance to your backdrop. On the other hand, if you want to paint the wood to match your wedding theme, softer woods like pine or cedar are more suitable. They are easier to work with and take paint well.
Another important consideration is the size and weight of the wood. You want to ensure that the backdrop is sturdy enough to withstand any outdoor elements or accidental bumps. Thicker and heavier woods, such as redwood or teak, are ideal for larger backdrops or if you plan to hang heavy decorations. However, if you are looking for a more lightweight option, birch or poplar can be a good choice.
Additionally, it is essential to consider the sustainability of the wood. With the increasing focus on eco-friendly practices, using reclaimed or recycled wood for your backdrop can be a great option. Not only does it add a unique and rustic charm, but it also reduces the demand for new wood and helps protect the environment.
In conclusion, selecting the right type of wood for your wedding backdrop involves considering factors such as the desired finish, size and weight requirements, and sustainability. By carefully choosing the wood, you can create a stunning backdrop that will be both visually appealing and durable for your special day.
2、 Measuring and cutting the wood pieces for the backdrop
To build a wood wedding backdrop, the first step is to measure and cut the wood pieces for the backdrop. This is a crucial step as it ensures that the backdrop is the right size and shape for the wedding venue.
Start by measuring the height and width of the area where the backdrop will be placed. This will help determine the dimensions of the wood pieces needed. Consider the desired height and width of the backdrop, keeping in mind the overall aesthetic and theme of the wedding.
Once the measurements are taken, use a saw to cut the wood pieces to the desired lengths. It is important to ensure that the cuts are precise and straight, as this will affect the overall appearance of the backdrop. Take your time and double-check the measurements before making any cuts.
When cutting the wood, consider using a miter saw or a circular saw for straight cuts. If you need to make angled cuts for a more intricate design, a miter saw with adjustable angles will be helpful.
After cutting the wood pieces, sand the edges to smooth out any roughness or splinters. This will not only make the backdrop safer to handle but also give it a more polished look.
In the latest point of view, it is worth mentioning that using reclaimed or repurposed wood for the backdrop can add a rustic and eco-friendly touch to the wedding decor. Additionally, incorporating different wood finishes or stains can create a unique and personalized backdrop that matches the couple's style.
Overall, measuring and cutting the wood pieces for the backdrop is the first step in building a wood wedding backdrop. It sets the foundation for the rest of the construction process and ensures that the backdrop fits perfectly into the wedding venue.
3、 Assembling and securing the wood pieces together
To build a wood wedding backdrop, the first step is to gather all the necessary materials. You will need wooden planks or boards, screws or nails, a drill or hammer, a measuring tape, and a level. Additionally, you may want to consider sandpaper, paint or stain, and a paintbrush or roller to finish the wood.
Once you have all the materials, the next step is to measure and cut the wood to the desired size. This will depend on the dimensions of the backdrop you want to create. Use a measuring tape to ensure accurate measurements and a saw to cut the wood accordingly.
After cutting the wood, it's time to assemble and secure the pieces together. This can be done by using screws or nails. If using screws, pre-drill holes to prevent the wood from splitting. Start by attaching the vertical pieces to the floor or base, ensuring they are level. Then, attach the horizontal pieces to create the frame of the backdrop. Make sure to secure all the joints tightly to ensure stability.
Once the wood pieces are assembled, you can add any additional decorative elements or finishes. Sand the wood to smooth any rough edges and surfaces. If desired, you can paint or stain the wood to match your wedding theme or color scheme. Apply the paint or stain evenly using a brush or roller, and allow it to dry completely before moving or using the backdrop.
Remember to consider the latest point of view when building a wood wedding backdrop. Sustainable and eco-friendly options are becoming increasingly popular. Consider using reclaimed or repurposed wood to reduce waste and environmental impact. Additionally, incorporating greenery or flowers into the backdrop design can add a touch of natural beauty and freshness to your wedding decor.
4、 Adding decorative elements to the wood backdrop
To build a wood wedding backdrop, you will need a few essential materials and tools. Here is a step-by-step guide on how to create a beautiful wood backdrop for your wedding:
1. Gather the materials: You will need wooden planks, screws, a drill, a saw, sandpaper, a measuring tape, and a level.
2. Measure and cut the wooden planks: Determine the desired size of your backdrop and cut the wooden planks accordingly. Sand the edges to ensure a smooth finish.
3. Assemble the frame: Use the screws and drill to connect the wooden planks together, forming a sturdy frame. Make sure the frame is level and secure.
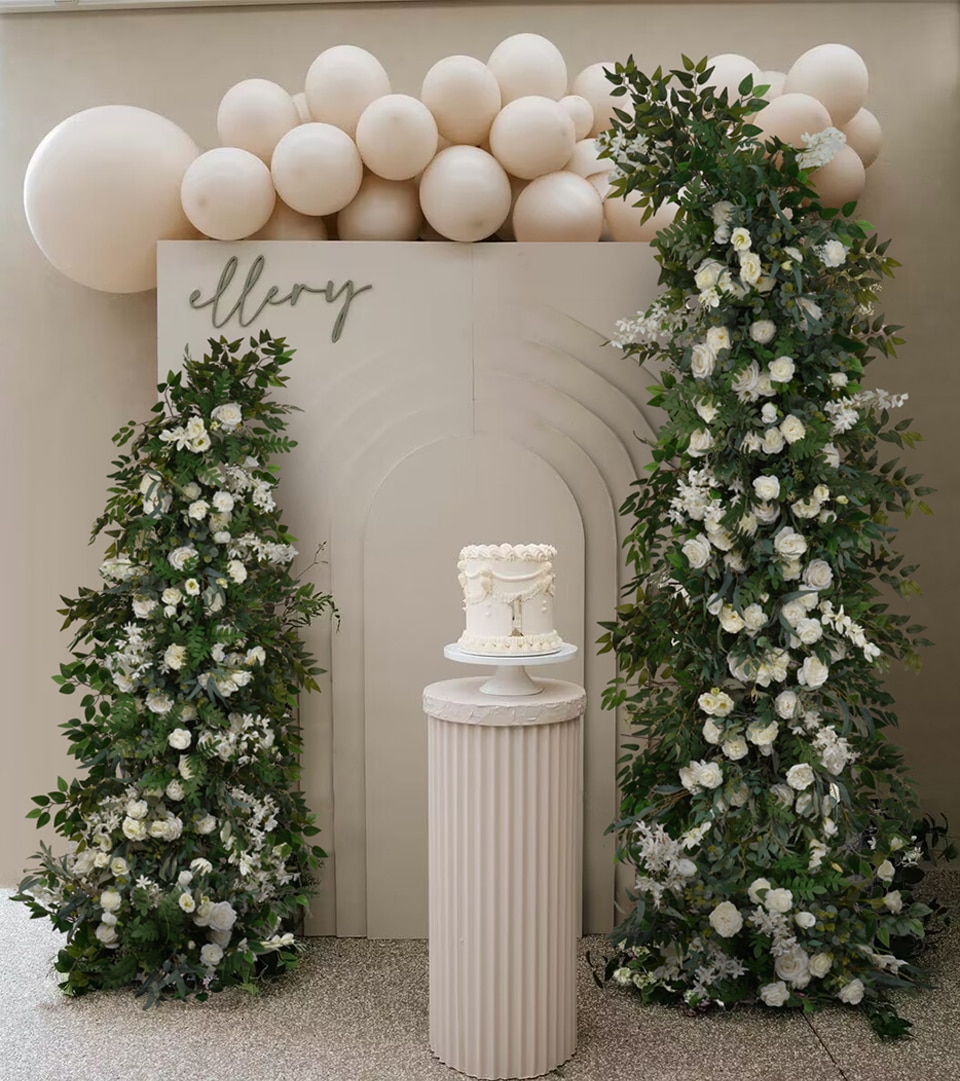
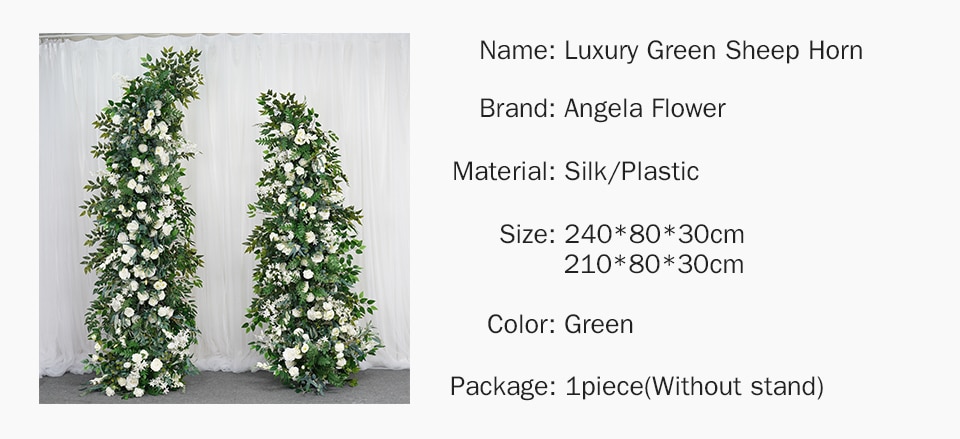
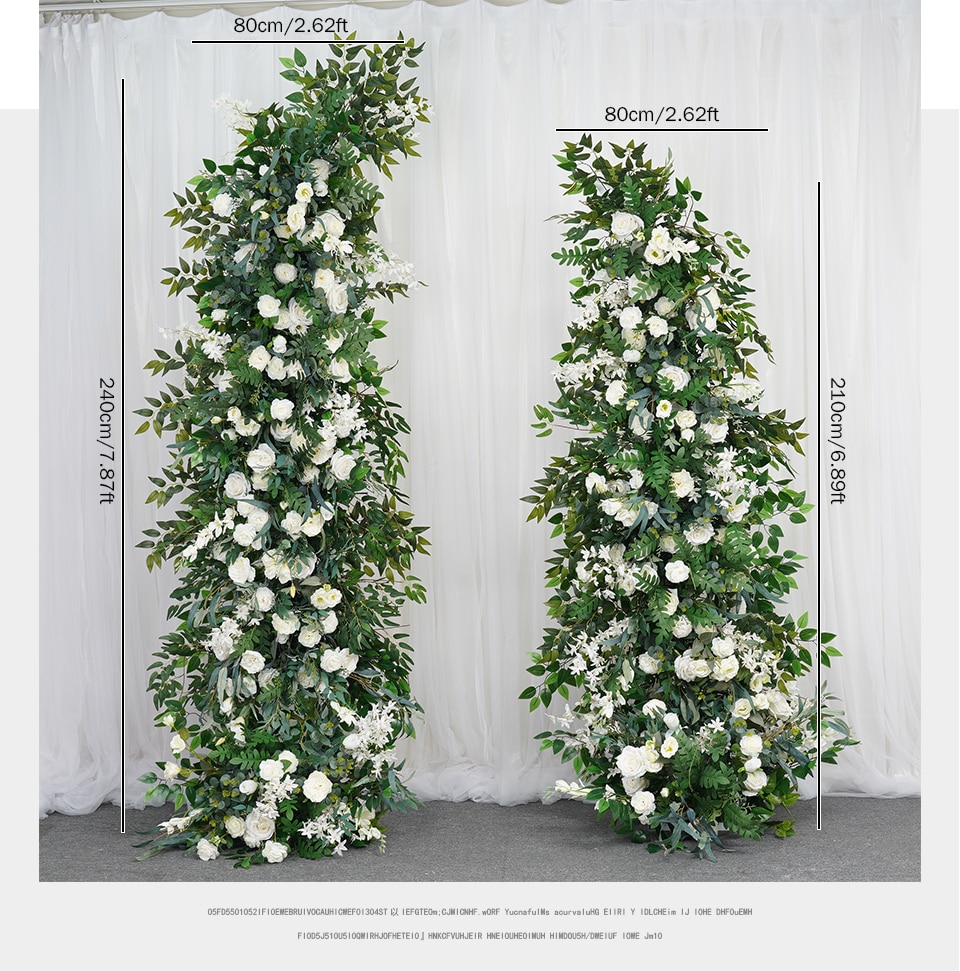
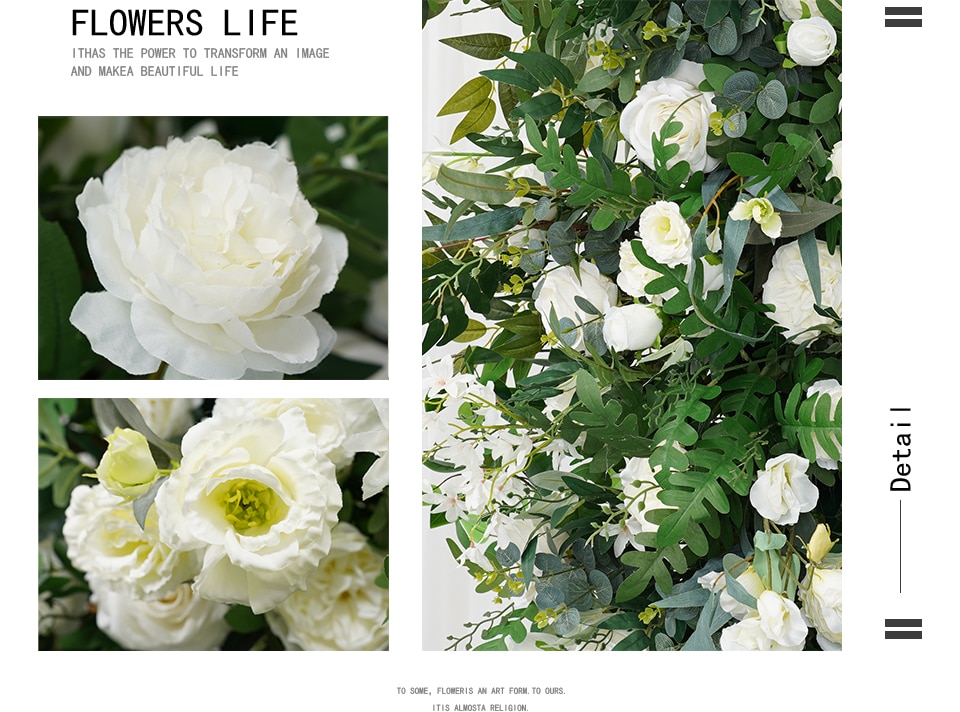
4. Add decorative elements: Now comes the fun part - adding decorative elements to enhance the wood backdrop. You can consider incorporating elements such as fairy lights, flowers, greenery, or fabric drapes. These elements will add a touch of elegance and personalize the backdrop to match your wedding theme.
5. Attach the decorative elements: Use adhesive hooks or clips to attach the decorative elements to the wood backdrop. Be mindful of the weight and balance of the elements to ensure they are securely attached.
6. Test and adjust: Once you have added the decorative elements, step back and assess the overall look. Make any necessary adjustments to ensure everything is balanced and visually appealing.
7. Set up the backdrop: On the day of the wedding, carefully transport and set up the wood backdrop at the desired location. Ensure it is stable and secure before proceeding with any further decorations.
Remember, the key to a stunning wood wedding backdrop is to add decorative elements that complement your wedding theme and create a romantic ambiance. Be creative and think outside the box to make your backdrop truly unique and memorable.


Leave your comment