
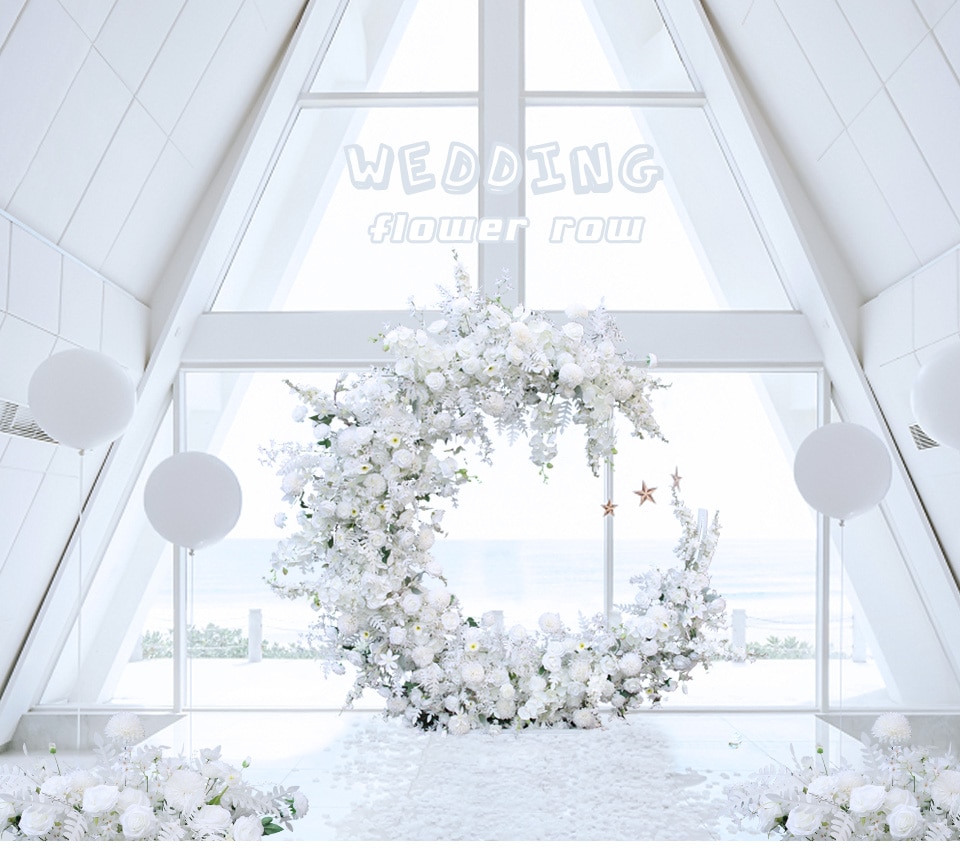
how to make wedding decorations with a cricut?

To make wedding decorations with a Cricut, you can start by selecting the appropriate materials and designs for your desired decorations. The Cricut machine can cut various materials such as cardstock, vinyl, and fabric, so choose the material that suits your project. Next, use the Cricut Design Space software to create or select the designs you want to use. You can find pre-made wedding-themed designs or create your own using the software's tools. Once you have your design ready, load the chosen material onto the Cricut cutting mat and insert it into the machine. Follow the instructions on the software to cut out your designs. After cutting, carefully remove the excess material and assemble your decorations as needed. This may involve gluing pieces together or attaching them to other surfaces. Finally, display your handmade Cricut wedding decorations at your special event.
1、 Paper Cutouts: Creating intricate designs with a Cricut machine
How to make wedding decorations with a Cricut:
One popular way to create stunning wedding decorations is by using a Cricut machine to make paper cutouts. The Cricut machine is a versatile tool that can cut intricate designs with precision, allowing you to create beautiful and personalized decorations for your special day.
To get started, you will need a Cricut machine, cutting mats, and various colors and types of paper. The Cricut Design Space software is also essential, as it allows you to choose from a wide range of pre-designed templates or create your own custom designs.
Once you have your materials ready, you can begin by selecting the design you want to use for your wedding decorations. This could include anything from table centerpieces and place cards to banners and signs. The Cricut machine will then cut out the design on the chosen paper, ensuring clean and precise edges.
To add a personal touch, you can also use the Cricut machine to create custom monograms or names for the bride and groom. These can be used on various items such as invitations, favor boxes, or even on the wedding cake.
The latest Cricut machines also offer additional features such as scoring and embossing, allowing you to add texture and dimension to your decorations. This can be particularly useful for creating elegant and intricate designs on items like wedding invitations or menu cards.
In conclusion, using a Cricut machine to create paper cutouts is a fantastic way to make unique and personalized wedding decorations. With its precision cutting capabilities and versatile design options, the Cricut machine can help you bring your vision to life and add a special touch to your wedding day.
2、 Vinyl Decals: Personalizing wedding decor with adhesive vinyl cutouts
Vinyl Decals: Personalizing wedding decor with adhesive vinyl cutouts
Using a Cricut machine to create wedding decorations is a fantastic way to add a personal touch to your special day. One popular method is to make vinyl decals, which can be applied to various surfaces such as glass, wood, or even fabric. Here's a step-by-step guide on how to make wedding decorations with a Cricut:
1. Choose your design: Start by selecting the design you want to use for your vinyl decal. This could be anything from monograms, quotes, or intricate patterns. You can either create your own design using Cricut Design Space or choose from the vast library of pre-made designs available.
2. Prepare your materials: Gather the necessary materials, including adhesive vinyl in your desired colors, transfer tape, a weeding tool, and a scraper. Make sure your Cricut machine is connected to your computer and ready to go.
3. Cut your design: Load the vinyl into your Cricut machine and select the appropriate settings for cutting. Once your design is loaded into the software, click "Make It" and follow the on-screen instructions to cut out your design.
4. Weed the excess vinyl: After cutting, carefully remove the excess vinyl from around your design using a weeding tool. This will leave only your desired design on the backing paper.
5. Apply transfer tape: Cut a piece of transfer tape slightly larger than your design and apply it over the vinyl decal. Use a scraper to ensure the transfer tape adheres well to the vinyl.
6. Apply the decal: Carefully peel off the backing paper, leaving the vinyl decal attached to the transfer tape. Position the decal on your desired surface and press it down firmly, using the scraper to remove any air bubbles.
7. Remove the transfer tape: Slowly peel off the transfer tape, leaving the vinyl decal in place. Smooth out any edges or bubbles with the scraper.
By using a Cricut machine and adhesive vinyl, you can easily create personalized wedding decorations that will add a unique and memorable touch to your special day. Whether it's custom signage, table numbers, or even personalized favors, the possibilities are endless with this versatile crafting tool.
3、 Fabric Appliques: Adding custom designs to fabric decorations using Cricut
How to make wedding decorations with a Cricut:
One popular way to create stunning wedding decorations with a Cricut is by making fabric appliques. Fabric appliques are custom designs that can be added to various fabric decorations, such as table runners, chair sashes, or even wedding dresses. With a Cricut machine, you can easily cut out intricate designs from different types of fabric, allowing you to personalize your wedding decor in a unique and beautiful way.
To create fabric appliques with a Cricut, you will need a few supplies. First, choose the fabric you want to use for your appliques. It's important to select a fabric that is compatible with the Cricut machine, such as cotton or felt. Next, you will need a Cricut cutting mat and a fabric blade. The fabric blade is specifically designed to cut through fabric smoothly and accurately.
Once you have your supplies ready, you can start designing your appliques using the Cricut Design Space software. This software allows you to create or upload your own designs, or choose from a wide range of pre-made designs available in the Cricut library. Once you have your design ready, you can load your fabric onto the cutting mat and let the Cricut machine do its magic.
After the machine has finished cutting out your fabric appliques, carefully remove them from the cutting mat. You can then attach them to your desired fabric decorations using fabric glue or by sewing them on. The result will be a personalized and elegant touch to your wedding decor.
Fabric appliques made with a Cricut can add a touch of sophistication and individuality to your wedding decorations. Whether you choose to create intricate lace designs or simple monograms, the possibilities are endless with a Cricut machine. So, unleash your creativity and make your wedding decor truly one-of-a-kind with fabric appliques made using a Cricut.

4、 Cardstock Banners: Making beautiful banners for wedding celebrations
How to Make Wedding Decorations with a Cricut: Cardstock Banners
One of the most popular ways to create stunning wedding decorations with a Cricut machine is by making cardstock banners. Banners are versatile and can be used in various ways to add a touch of elegance and personalization to your wedding celebration.
To start, gather your materials. You will need a Cricut machine, cardstock in your desired colors, adhesive, ribbon or twine, and any additional embellishments you may want to add.
Next, choose a banner design from the Cricut Design Space or create your own. The Cricut machine will precisely cut out the banner shapes for you, saving you time and effort. You can customize the size and shape of the banners to fit your wedding theme and venue.
Once the banners are cut, it's time to assemble them. Use adhesive to attach the banners to a ribbon or twine, leaving enough space between each banner for a visually appealing look. You can also add extra embellishments such as flowers, pearls, or glitter to make the banners even more eye-catching.
Consider personalizing the banners with the couple's names, wedding date, or meaningful quotes. This adds a special touch and makes the decorations unique to your wedding.
Hang the banners in strategic locations such as the entrance, behind the sweetheart table, or along the aisle. They can also be used as photo backdrops or as part of the ceremony backdrop.
The latest point of view in making wedding decorations with a Cricut is the availability of a wide range of designs and materials. With the Cricut Design Space, you can access a vast library of pre-designed banners or create your own using various fonts and graphics. Additionally, there are now specialty cardstocks available, such as metallic or glitter cardstock, that can add a touch of glamour to your wedding decorations.
In conclusion, making cardstock banners with a Cricut machine is a creative and cost-effective way to decorate your wedding. With endless design possibilities and the ability to personalize the banners, you can create decorations that perfectly match your wedding theme and style. So, unleash your creativity and let your Cricut machine help you make beautiful banners for your special day.


Leave your comment