
how to make a wall flower?

To make a wall flower, you can follow these steps:
1. Choose a flower design or pattern that you like.
2. Gather materials such as colored paper, scissors, glue, and a pencil.
3. Trace the flower design onto the colored paper using the pencil.
4. Cut out the flower shape carefully.
5. Use the scissors to create small cuts along the edges of the flower petals, giving them a more realistic look.
6. Fold the petals slightly to add dimension to the flower.
7. Apply glue to the back of the flower and press it onto the wall.
8. Repeat the process to create more flowers and arrange them on the wall as desired.
9. You can also add leaves or other decorative elements to enhance the overall look.
10. Allow the glue to dry completely before enjoying your wall flower decoration.
1、 Choosing the right wall for your flower display
Choosing the right wall for your flower display is crucial in creating a stunning and eye-catching wall flower. Whether you are looking to create a vertical garden or simply add a touch of nature to your space, here are some key points to consider.
Firstly, assess the amount of sunlight the wall receives. Most flowers require at least six hours of direct sunlight daily, so choose a wall that gets ample sunlight throughout the day. South-facing walls tend to receive the most sunlight, making them ideal for vibrant and colorful blooms.
Secondly, consider the size and structure of the wall. A sturdy and well-maintained wall is essential to support the weight of the flower display. If the wall is weak or damaged, it may not be suitable for a wall flower. Additionally, ensure that the wall has enough space to accommodate the desired number of plants and their root systems.
Furthermore, think about the overall aesthetic of the space. Consider the color scheme and style of the surrounding area to ensure that the wall flower complements the existing design. You can choose flowers that match or contrast with the surrounding colors, creating a visually appealing display.
Lastly, consider the maintenance required for the wall flower. Some flowers require more care and attention than others. If you have limited time or gardening experience, opt for low-maintenance flowers that can thrive in various conditions.
In conclusion, choosing the right wall for your flower display involves considering factors such as sunlight exposure, wall structure, aesthetic appeal, and maintenance requirements. By carefully assessing these aspects, you can create a beautiful and flourishing wall flower that enhances your space.

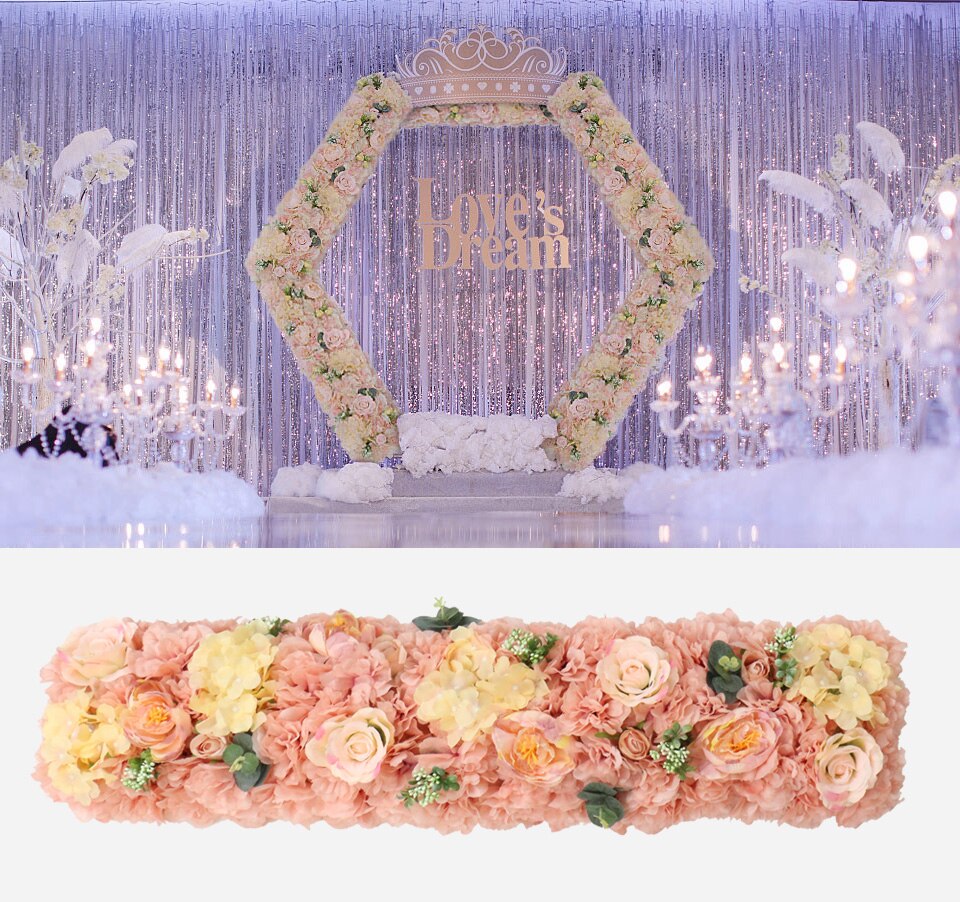
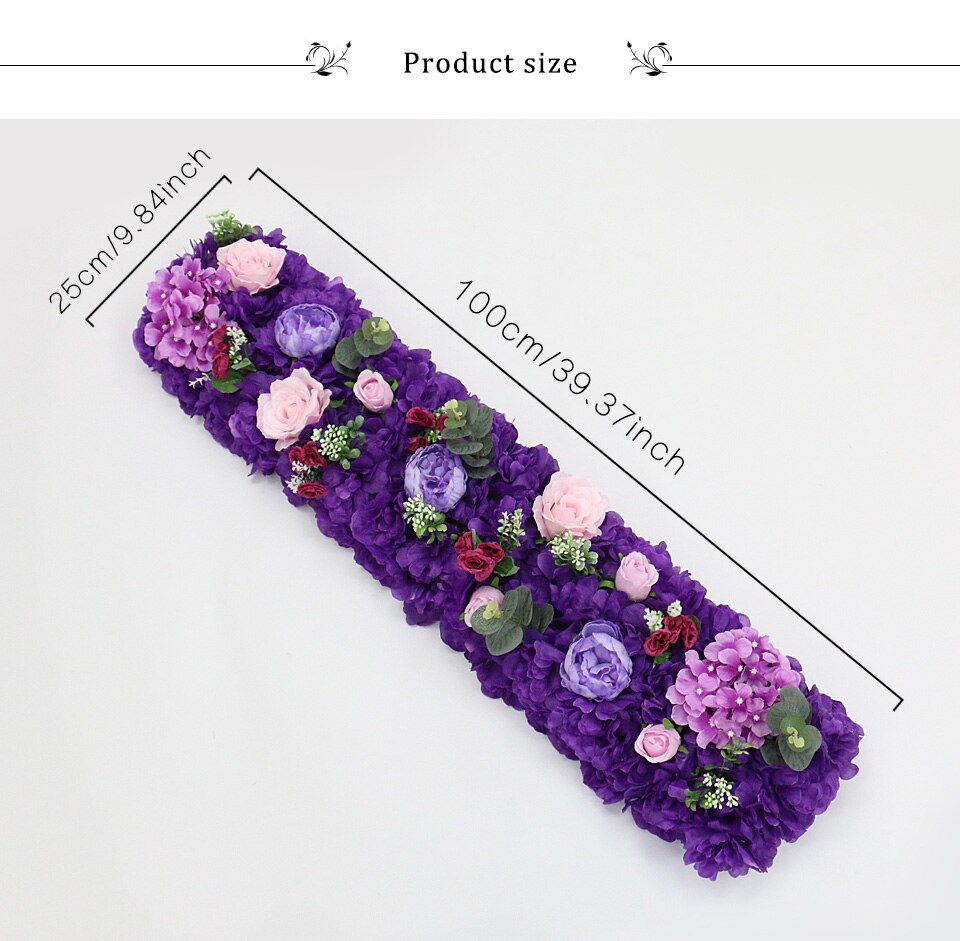
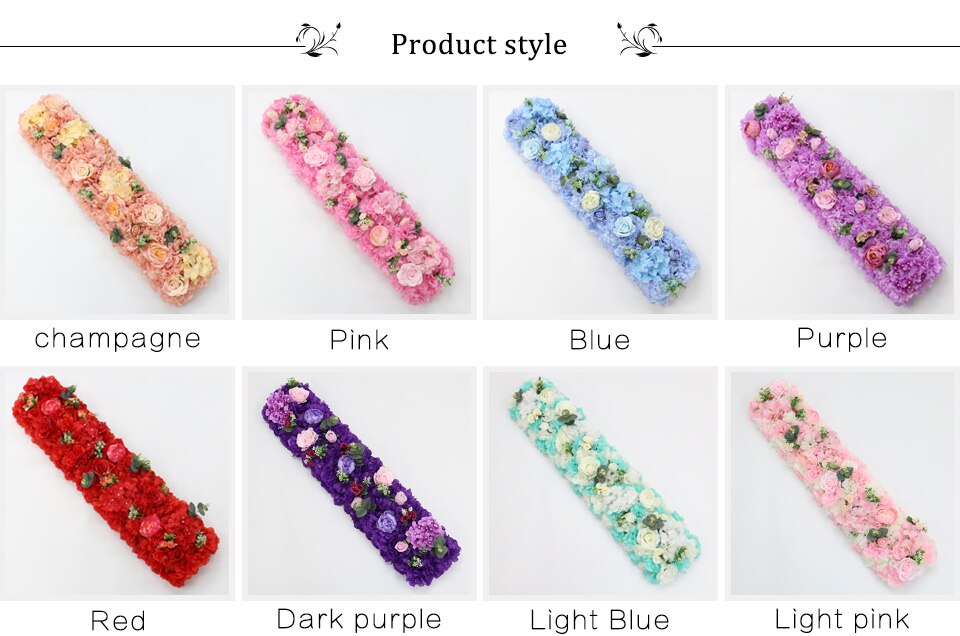
2、 Selecting the appropriate flowers for a wall arrangement
To make a wall flower arrangement, you need to start by selecting the appropriate flowers. The choice of flowers will depend on various factors such as the size of the wall, the color scheme you want to achieve, and the overall aesthetic you are aiming for. Here are some steps to help you create a stunning wall flower arrangement:
1. Consider the size of the wall: If you have a large wall, you can opt for bigger flowers like sunflowers or hydrangeas. For smaller walls, delicate flowers like roses or daisies would work well.
2. Choose a color scheme: Decide on the color palette you want to use for your wall flower arrangement. You can go for a monochromatic look using different shades of the same color, or create a vibrant display with contrasting colors. Consider the existing decor in the room to ensure the flowers complement the overall ambiance.
3. Select flowers with long stems: To create a wall flower arrangement, you will need flowers with long stems that can be easily attached to the wall. Flowers like lilies, gladiolus, or delphiniums are ideal for this purpose.
4. Use floral foam or wire mesh: To secure the flowers to the wall, you can use floral foam or wire mesh. Floral foam can be cut into the desired shape and attached to the wall using adhesive hooks. Wire mesh can be shaped into a grid and fixed to the wall using nails or hooks.
5. Arrange the flowers: Start by placing the larger flowers at the bottom of the arrangement and gradually work your way up with smaller flowers. Add greenery or foliage to fill in any gaps and create a more natural look.
6. Maintain the arrangement: Wall flower arrangements require regular maintenance to keep them looking fresh. Water the flowers regularly and remove any wilted or dead blooms to ensure the arrangement stays vibrant.
In recent years, there has been a growing trend towards using artificial flowers for wall arrangements. High-quality artificial flowers can provide a long-lasting and low-maintenance alternative to fresh flowers. They come in a wide variety of colors and styles, allowing for more creativity and flexibility in design. Additionally, artificial flowers are often more cost-effective and can be reused for different occasions or in different spaces.
Whether you choose fresh or artificial flowers, creating a wall flower arrangement can add a touch of beauty and elegance to any space. With careful selection and arrangement, you can transform a plain wall into a stunning focal point.
3、 Preparing the wall surface for mounting the flowers
Preparing the wall surface for mounting the flowers is an essential step in creating a beautiful wall flower display. This process ensures that the flowers adhere properly to the wall and remain securely in place. Here is a step-by-step guide on how to prepare the wall surface for mounting the flowers:
1. Clean the wall: Start by cleaning the wall surface thoroughly. Remove any dust, dirt, or grease using a mild detergent and water solution. This will ensure that the flowers stick to a clean surface and prevent any potential damage to the wall.
2. Repair any imperfections: Inspect the wall for any cracks, holes, or uneven areas. Fill in any imperfections with spackling paste or putty, and smooth it out using a putty knife. Allow the filler to dry completely before proceeding.
3. Sand the wall: Use sandpaper to lightly sand the wall surface. This will create a slightly rough texture, allowing the adhesive to adhere better. Be careful not to sand too aggressively, as it may damage the wall.
4. Prime the wall: Apply a coat of primer to the wall surface. Primer helps to create a smooth and even base for the flowers to adhere to. It also improves the durability of the adhesive.
5. Let the primer dry: Allow the primer to dry completely according to the manufacturer's instructions. This usually takes a few hours, but it's best to wait overnight to ensure it's fully cured.
6. Apply the adhesive: Use a strong adhesive suitable for mounting flowers on walls. Follow the manufacturer's instructions for application. Apply the adhesive evenly on the back of each flower, ensuring full coverage.
7. Mount the flowers: Carefully press each flower onto the wall, starting from the bottom and working your way up. Make sure to firmly press each flower against the wall to ensure proper adhesion.
It's important to note that the latest point of view emphasizes the use of eco-friendly adhesives and materials. Consider opting for adhesive products that are non-toxic and do not contain harmful chemicals. Additionally, explore sustainable flower options such as artificial flowers made from recycled materials or dried flowers to reduce environmental impact.
4、 Creating a secure and durable wall flower installation
Creating a secure and durable wall flower installation requires careful planning and attention to detail. Here's a step-by-step guide on how to make a wall flower that not only looks beautiful but also stands the test of time.
1. Choose the right materials: Opt for weather-resistant and durable materials such as metal or treated wood for the frame of your wall flower. This will ensure its longevity and ability to withstand outdoor elements.
2. Design and measure: Sketch out your desired design for the wall flower and take accurate measurements of the space where it will be installed. This will help you determine the size and shape of the frame.
3. Construct the frame: Using the chosen materials, construct the frame of the wall flower according to your design. Ensure that it is sturdy and securely fastened together to prevent any wobbling or instability.
4. Prepare the planting area: Attach a layer of landscape fabric to the back of the frame to prevent soil erosion and weed growth. Add a layer of gravel or small rocks at the bottom to improve drainage.
5. Choose the right plants: Select plants that are suitable for vertical gardening and can thrive in the specific lighting and climate conditions of your location. Consider using a mix of annuals, perennials, and trailing plants to create a visually appealing display.
6. Plant and maintain: Fill the planting area with a high-quality potting mix and carefully plant your chosen flowers. Regularly water, fertilize, and prune the plants to ensure their health and longevity.
7. Secure the installation: Depending on the weight and size of your wall flower, use appropriate mounting brackets or hooks to securely attach it to the wall. This will prevent any accidents or damage caused by strong winds or other external factors.
By following these steps, you can create a secure and durable wall flower installation that adds beauty and charm to any outdoor space.


Leave your comment